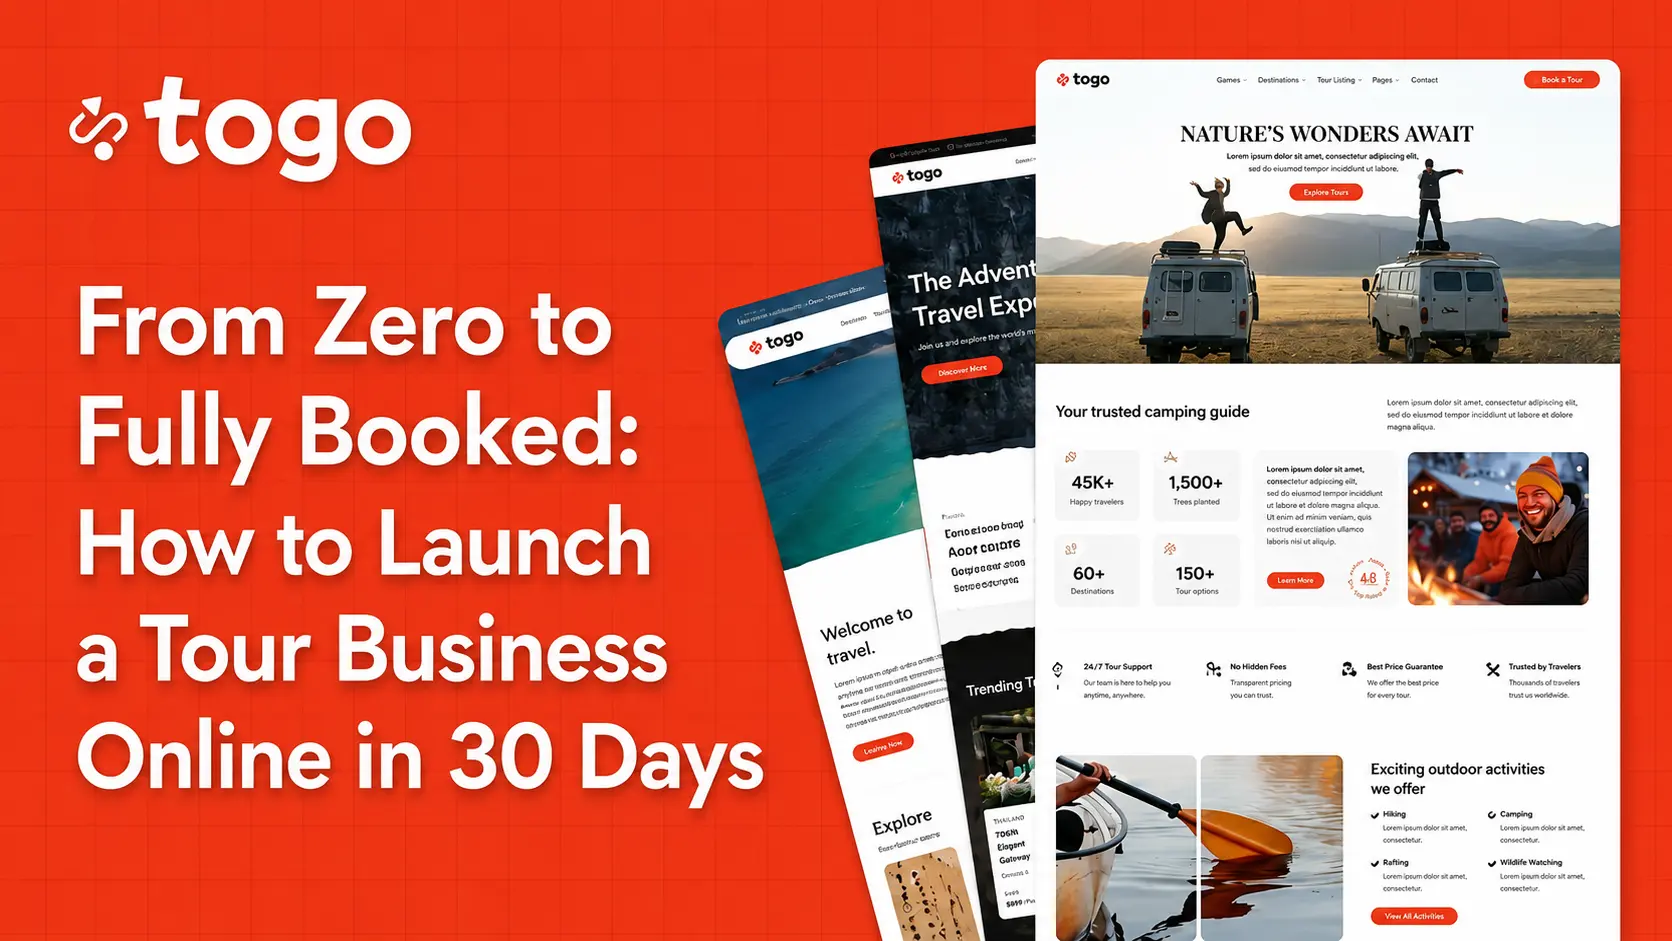
Thirty days from now, you could have a professional tour booking website live, indexed by Google, and taking real reservations from real customers.
Most travel entrepreneurs think this process takes six months, a developer, and a significant budget. It doesn’t. The tools available in 2026 — purpose-built travel themes, no-code page builders, integrated booking systems — have compressed the timeline dramatically. What used to require a development agency can now be done by a single motivated person with a clear plan and the right starting point.
This is that plan. Week by week, task by task — exactly what to do in your first 30 days to go from zero to fully operational online tour business.
Before You Start: What You Need on Day One
Before touching a website, get these four things in order. They’ll inform every decision you make in the weeks ahead.
1. Your niche and destination. The most common mistake new tour operators make is being too broad. “Tours in Southeast Asia” is not a niche. “Small-group culinary tours in Hanoi for Western travelers” is a niche — specific enough to dominate, broad enough to build a real business. Pick your niche and commit to it for at least the first year.
2. Your first three tours. You don’t need a full catalog at launch. You need three well-designed tours with clear itineraries, honest pricing, and defined departure schedules. Three focused offerings convert better than twenty half-finished ones.
3. Your pricing structure. Research your direct competitors. Understand the market rate for your tour type and destination. Price at market or slightly above if you can articulate a clear differentiator — not below, which signals low quality before a customer has experienced anything.
4. Your business fundamentals. Business registration, bank account, basic liability coverage if required in your market. These aren’t exciting, but having them sorted before you start taking bookings prevents painful problems later.
Week 1: Build Your Foundation (Days 1–7)
Day 1–2: Set Up Hosting and WordPress
Choose a managed WordPress host — Kinsta, WP Engine, or SiteGround are reliable options at different price points. Managed hosting handles server security, automatic backups, and performance optimization so you can focus on building, not server administration.
Install WordPress. This takes about ten minutes on any managed host — most have one-click WordPress installation. Don’t spend time customizing WordPress settings yet; you’ll do that as part of theme setup.
Day 3–4: Install Togo and Import Your Demo
Purchase Togo from ThemeForest ($59). Install the theme and the three included plugins: Togo Framework, Elementor, and Contact Form 7.
Choose your demo design. If you’re running a single-operator tour business, the Classic Travel Agency or Modern Tour Booking demos are strong starting points. If you’re planning a marketplace, start with the Tour Directory demo. Import your chosen demo with one click.
Your site now looks like a professional travel agency. The structure is there — you’re customizing from a complete starting point, not building from a blank canvas.
Day 5–6: Configure Core Settings
Work through Togo’s settings panel systematically:
- Google Maps API key — required for destination maps and location search. Takes 15 minutes to set up through Google Cloud Console.
- WooCommerce setup — currency, tax settings, payment gateway (connect Stripe or PayPal in test mode for now)
- Tour archive slug — set this now, before you create any tour pages. You cannot change it later without breaking URLs.
- Email settings — configure booking confirmation and admin notification emails with your business details
- User dashboard pages — create and assign My Account, Booking History, and Wishlist pages
Day 7: Replace All Placeholder Content
Go through every page systematically and replace demo content with your own: homepage headline and description, about page, contact page, footer details, legal pages (Terms & Conditions, Privacy Policy, Refund Policy).
Search your site for “Lorem” — if it appears anywhere, you’re not done.
End of Week 1 goal: A fully configured, placeholder-free website that looks professional and functions correctly — even before any real tours are added.
Week 2: Build Your Tour Catalog (Days 8–14)
Day 8–10: Create Your Tour Pages
This is the most time-intensive part of the launch process — and the most important. Your tour pages are your primary sales tool. They need to be comprehensive, compelling, and correctly structured for both SEO and conversion.
For each of your three launch tours, build a tour detail page that includes:
- Tour title — specific, descriptive, search-optimized (e.g., “Full-Day Halong Bay Cruise with Kayaking — Small Group, Hanoi Departure”)
- Overview — what the tour is, who it’s for, what makes it special (200–300 words minimum)Full itinerary — hour-by-hour or stop-by-stop breakdown
- Included / Excluded — be specific and honest
- Pricing — adult, child, and group rates if applicable; display the full price, no hidden fees
- Availability and departure schedule — set up real dates in the booking system
- Meeting point — exact address, Google Maps embed, what to look for
- What to bring — practical packing guidance
- FAQ — 5–8 questions your customers will actually ask
- Photos — minimum 8–10 high-quality images per tour
Aim for 800–1,200 words of content per tour page. Comprehensive tour pages convert better and rank higher than thin ones.
Day 11–12: Build Destination Pages
Create one destination landing page for each geographic area you operate in. A destination page for “Hoi An Tours” or “Bali Tours” serves as a hub — it introduces the destination, showcases your relevant tours dynamically, and ranks for broader destination-based search queries.
Use Togo’s tour grid widget filtered by destination tag to pull tours automatically. Add 400–600 words of genuinely useful destination content above the grid: best time to visit, logistics, what makes this destination special for your type of tours.
Day 13: Set Up Photography
If you don’t have your own professional tour photos yet, this is the time to invest — or, as a temporary measure, use high-quality licensed photos from Unsplash or Pexels for launch, with a plan to replace them with real tour photography within 60 days.
Compress all images before uploading. Target under 200KB per image in WebP format. Slow image loading is the most common performance issue on travel websites.
Day 14: End-to-End Booking Test
Complete a full test booking on your site — from homepage to confirmation email — in test mode. Check every step:
- Search and filter functionality
- Tour detail page display on mobile and desktop
- Date selection and availability calendar
- Guest details form
- Checkout and payment (use Stripe’s test card numbers)
- Confirmation page
- Confirmation email to “customer”
- Admin notification email to you
Fix everything that doesn’t work before moving forward. Don’t proceed to launch with a broken booking flow.
End of Week 2 goal: Three complete, fully-booked-tested tour pages live on your site, plus destination landing pages for each area you operate in.
Week 3: SEO, Content, and Pre-Launch Setup (Days 15–21)
Day 15–16: Install and Configure SEO Plugin
Install Rank Math or Yoast SEO. Configure:
- Site title and meta description
- XML sitemap generation
- Open Graph settings for social sharing
- Schema markup verification (Togo has built-in tour schema — verify it’s working in Google’s Rich Results Test)
Write unique meta titles and descriptions for your homepage, each tour page, and each destination page. Keep tour meta titles under 60 characters and descriptions under 155 characters.
Day 17: Set Up Google Analytics and Search Console
Install Google Analytics 4 and connect Google Search Console. Set up a conversion event in GA4 for completed bookings — this tracks your actual conversion rate from day one, which is data you’ll use to improve the site in months two and three.
Submit your XML sitemap to Search Console. Google will begin crawling your pages within days of launch.
Day 18–19: Write Your First Two Blog Posts
Pre-launch blog content serves two purposes: it gives Google additional pages to index, and it demonstrates to first-time visitors that your site is active and authoritative — not a brand-new domain with nothing on it.
Write two destination-focused articles targeting the long-tail searches your ideal customers are making:
- “Best Time to Visit [Your Destination]: Month-by-Month Guide”
- “[Your Destination] in 3 Days: The Perfect Itinerary”
These don’t need to be promotional. Write them as genuinely useful travel guides. Include a natural, relevant CTA at the end linking to your most relevant tour.
Day 20: Pre-Launch Technical Checklist
Work through the critical pre-launch checks:
- SSL certificate active on all pages (check with Why No Padlock tool)
- All pages loading correctly with no 404 errors
- Contact form tested and delivering to your email
- WooCommerce switched from test mode to live payments
- Caching plugin installed and configured (WP Rocket or W3 Total Cache)
- Google PageSpeed score above 75 on mobile
- Site search working correctly
- All external links opening in a new tab
Day 21: Soft Launch to a Small Audience
Before your full public launch, share your site with a small group: colleagues, friends in the travel industry, past customers if you’ve been operating offline. Ask for specific feedback:
- Can you find and book a tour in under 3 minutes?
- Is anything confusing or unclear?
- Does the site feel trustworthy enough to enter payment details?
Collect feedback. Fix what needs fixing. You have one week before full launch.
End of Week 3 goal: SEO configured, analytics tracking active, two blog posts published, technical checks passed, soft launch feedback collected and actioned.
Week 4: Launch and First Bookings (Days 22–30)
Day 22–23: Go Live and Submit to Google
Publish your site publicly. Submit your sitemap to Google Search Console if you haven’t already. Request indexing for your homepage, tour pages, and destination pages individually through the URL Inspection tool — this speeds up the initial crawl.
Set up your Google Business Profile if you have a physical location. Fill in every field, add your best tour photos, and include your website URL.
Day 24–25: Launch Outreach
Organic search takes time to compound — your Week 4 bookings will mostly come from direct outreach, not SEO. This is normal and expected.
Reach out directly to:
- Your existing network — email everyone who knows you and your business. Tell them you’ve launched online bookings. Ask them to share with anyone planning travel to your destination.
- Local accommodation partners — guesthouses, boutique hotels, and hostels near your destination often refer guests to local tour operators. Introduce yourself, offer a referral commission (10–15% is standard), and provide them with printed cards or a simple one-page PDF they can hand to guests.
- Travel bloggers covering your destination — find 5–10 bloggers who have written about your destination in the last 12 months. Send a short, personal email introducing your tours and offering a complimentary experience in exchange for an honest review and a link.
Day 26–27: Set Up Social Proof Collection
Your tour pages launch with zero reviews. This is the most significant trust gap you need to close in your first 60 days.
Set up an automated post-tour email sequence: 24 hours after a tour’s departure date, send every booked customer an email asking for a review. Make it one click — a direct link to the review form on your tour page. Keep the email short and personal.
If you’ve run tours offline before launching online, reach out to past customers now. Ask them to leave a review on your new site. Even five genuine reviews on each tour page dramatically improves conversion.
Day 28–30: Analyze, Adjust, Plan Month Two
By day 30, you have real data. Check Google Analytics:
- Which pages are getting traffic?
- Where are visitors dropping off in the booking funnel?
- Which tour pages have the highest time-on-page?
- Are mobile conversion rates lower than desktop? (They usually are — this is where to focus first.)
Use this data to prioritize your improvements for month two. The site you launch on day 30 will not be the site you run on day 90. Every week of real traffic data tells you something actionable.
End of Week 4 goal: Site live, first outreach sent, review collection automated, first data points in Analytics reviewed.
What Happens After 30 Days
Your first booking might come on day 5. It might come on day 45. The timeline varies by destination, niche, and how aggressively you execute the outreach in Week 4.
What doesn’t vary is the compound nature of what you’ve built. Every tour page is an indexed asset that accumulates search authority over time. Every review makes the next booking more likely. Every partner relationship generates referrals that don’t require ongoing effort to maintain.
The 30-day launch is the hardest part — not because it’s technically difficult, but because it requires sustained focus across multiple unfamiliar domains simultaneously. The operators who complete it cleanly are the ones who follow the plan rather than improvising.
Togo gives you the platform to execute this plan. Everything described above — the booking system, the tour pages, the destination hubs, the SEO schema, the review system, the marketplace capability for when you’re ready to scale — is built into a $59 theme.
Get Togo and start your 30-day launch →
30-Day Launch Timeline at a Glance
| Week | Focus | Key Deliverable |
|---|---|---|
| Week 1 (Days 1–7) | Foundation | Configured, placeholder-free website |
| Week 2 (Days 8–14) | Tour catalog | 3 complete tour pages + destination hubs |
| Week 3 (Days 15–21) | SEO + content | Analytics live, 2 blog posts, soft launch |
| Week 4 (Days 22–30) | Launch + outreach | Site live, first bookings, reviews set up |
Related reading: Travel Website Launch Checklist: 12 Things to Set Up Before Going Live · How to Get Your Tour Website on Page 1 of Google · 7 Reasons Travelers Abandon Travel Booking Sites