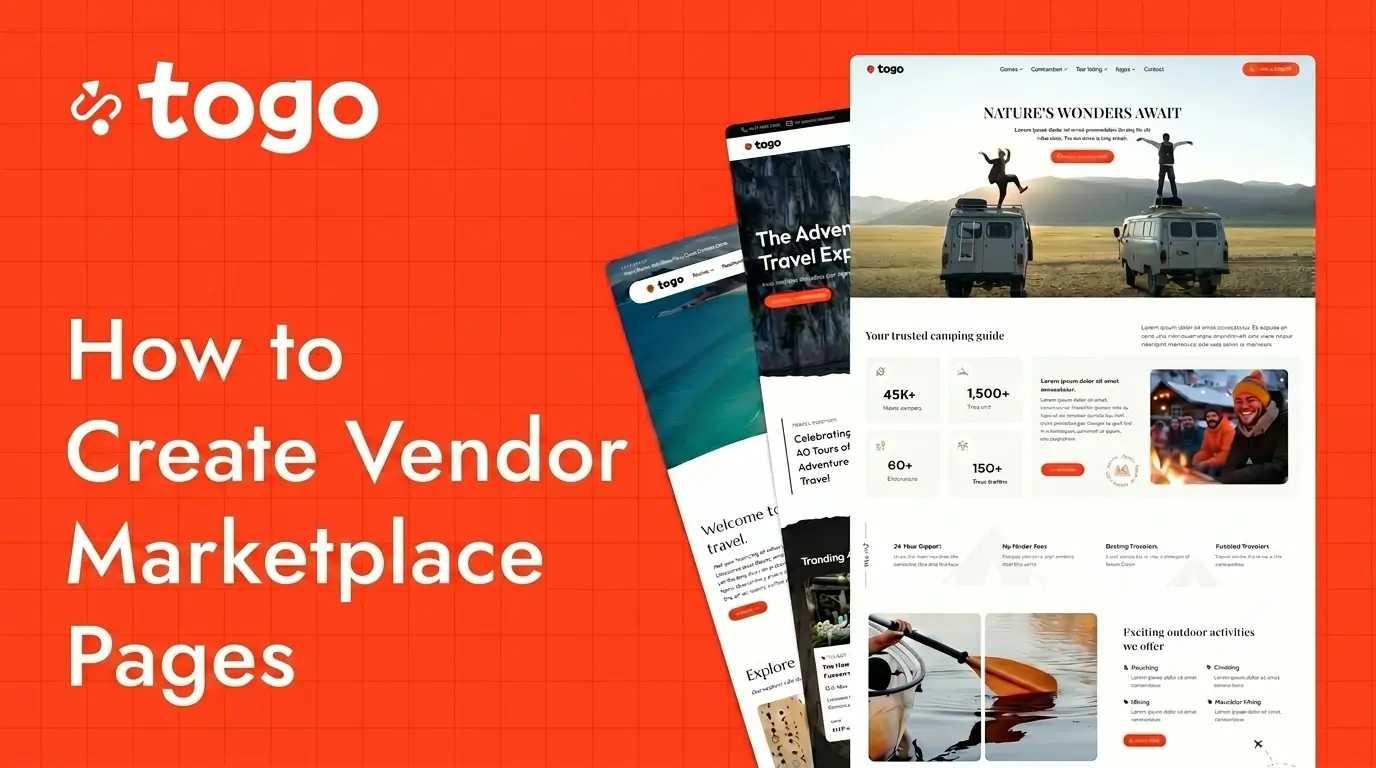
Togo WordPress Theme allows you to create a complete vendor marketplace website for tours, activities, and travel experiences using WordPress, Elementor, and WooCommerce.
With the built-in Vendor Marketplace system, multiple vendors can create tours, manage bookings, track earnings, and control their listings from a frontend vendor dashboard without accessing the WordPress admin area.
In this guide, you will learn how to create Vendor Marketplace pages in WordPress with Togo Theme, import marketplace templates using Elementor, configure vendor dashboard pages, and connect the marketplace workflow correctly.
This setup is ideal for building a multi-vendor travel marketplace similar to GetYourGuide, Viator, or Klook.
Why Create a Vendor Marketplace Website?
A vendor marketplace website allows multiple travel agencies, local guides, and tour providers to sell tours on the same platform while managing their own bookings, listings, and earnings independently.
Instead of manually managing all tours yourself, the marketplace system helps scale your travel business faster by allowing vendors to contribute content and manage their own services.
- Allow multiple vendors to submit tours
- Create frontend vendor dashboards
- Manage bookings and payouts efficiently
- Build a scalable travel marketplace business
- Improve SEO with destination and vendor pages
- Create a booking platform similar to Viator or GetYourGuide
What You Need Before Starting
Before creating vendor marketplace pages in WordPress, make sure the following plugins and settings are installed correctly.
- WordPress installed
- Togo WordPress Theme activated
- Elementor plugin installed
- WooCommerce configured
- Togo Marketplace features enabled
- Vendor Marketplace templates imported
Step 1: Create the Home Marketplace Page
The Home Marketplace page acts as the main landing page for your travel marketplace website. This page usually contains featured tours, destinations, categories, vendors, and booking sections.
- Log in to your WordPress Admin Dashboard.
- Go to Pages → Add New.
- Enter a page title such as Home Marketplace.
- Click Edit with Elementor.
- Click Publish.

Import the Marketplace Template with Elementor
After creating the page, you can import the ready-made marketplace layout using Elementor templates included with Togo Theme.
- Open the page with Elementor.
- Click the Folder icon.
- Switch to the Templates tab.
- Find the template named Home Marketplace.
- Click Insert.
- Review the imported layout.
- Click Publish to make the page live.


Using Elementor templates helps you quickly create a professional travel marketplace design without coding.
Step 2: Create Vendor Dashboard Pages
Vendor Dashboard pages allow vendors to manage their tours, bookings, analytics, messages, reviews, and account settings directly from the frontend dashboard.
Each vendor page should be created separately and connected to the correct Togo Marketplace widget.
- Go to Pages → Add New.
- Create a new page for each vendor section.
- Enter the page title.
- Publish the page.
Recommended Vendor Dashboard Pages
Below are the recommended pages for a complete vendor marketplace system in Togo Theme.
- Vendor Dashboard
- Account Settings
- Analytics
- Bookings
- Calendar
- Coupons
- Create New Tour
- Earnings
- Extra Services
- Messages
- My Tour
- Notifications
- Payout
- Reviews
- Top Tours
Configure the Vendor Page Template
For vendor dashboard pages, you need to assign the correct page template to ensure the dashboard layout and sidebar display properly.
- Open the page settings.
- Set the page template to My Vendor Account.
- If the page is a dashboard subpage, set Vendor Dashboard as the parent page.
- Click Publish.

Add Vendor Dashboard Widgets with Elementor
After publishing the page, open it with Elementor and insert the appropriate vendor widget into the page content area.
- Click Edit with Elementor.
- Search for the corresponding vendor widget.
- Drag and drop the widget into the page.
- Customize the layout and styling if needed.
- Click Publish.

Togo Theme includes dedicated Elementor widgets for vendor dashboard functionality.
Togo Vendor Marketplace Widgets

The table below shows the correct widget for each vendor dashboard page.
| Page | Widget Name |
|---|---|
| Vendor Dashboard | Vendor Dashboard |
| Account Settings | Account Settings |
| Analytics | Analytics Dashboard |
| Bookings | Bookings List |
| Calendar | Calendar |
| Coupons | Coupons |
| Create New Tour | Create Trip |
| Earnings | Vendor Earnings |
| Extra Services | Extra Services |
| Messages | Messages |
| My Tour | Tour List |
| Notifications | Notifications List |
| Payout | Vendor Payouts |
| Reviews | Reviews |
| Top Tours | Top Tours |
Configure Togo Marketplace Settings
After creating all vendor marketplace pages, you need to assign them correctly in the Togo Marketplace settings panel.
- Go to Settings → Togo Marketplace.
- Assign each vendor section to the correct page.
- Select pages for Create Trip, Booking List, Analytics, Withdraw, My Tour, and Vendor Dashboard.
- Save the settings.
This configuration ensures the vendor dashboard navigation and marketplace workflow function properly.
Key Features of the Togo Vendor Marketplace System
Frontend Tour Submission
Vendors can create and manage tours directly from the frontend dashboard without accessing the WordPress admin area.
Booking Management System
The vendor dashboard includes booking management tools for tracking reservations and customer activity.
Vendor Analytics Dashboard
Vendors can monitor bookings, revenue, performance statistics, and top-performing tours using the built-in analytics dashboard.
Vendor Earnings and Payouts
Togo Theme includes vendor earnings and payout management features for marketplace commission workflows.
Elementor Customization
All vendor marketplace pages can be customized visually using Elementor drag-and-drop editing tools.
SEO Benefits of a Travel Vendor Marketplace Website
A travel marketplace website can generate strong organic traffic because it creates multiple SEO-friendly pages such as destination pages, vendor profiles, activity pages, and booking-related content.
- Create searchable tour pages
- Generate local SEO traffic
- Rank for destination keywords
- Build internal links between tours and vendors
- Create scalable travel content architecture
Best Use Cases for Togo Vendor Marketplace
- Tour booking marketplaces
- Travel activity websites
- Local experience platforms
- Adventure travel marketplaces
- Private guide booking systems
- Destination-based booking platforms
Final Thoughts
Togo WordPress Theme provides a complete vendor marketplace solution for building professional travel booking websites using WordPress, Elementor, and WooCommerce.
With frontend vendor dashboards, booking management, Elementor templates, and marketplace widgets, you can create a scalable multi-vendor travel marketplace similar to Viator, GetYourGuide, or Klook without custom development.
Frequently Asked Questions
Can I create a multi-vendor travel marketplace with Togo Theme?
Yes. Togo Theme supports multiple vendors with frontend dashboard management features.
Does Togo support Elementor?
Yes. All marketplace pages and vendor dashboards can be customized using Elementor.
Can vendors manage bookings from the frontend?
Yes. Vendors can manage bookings, tours, analytics, and earnings from the frontend dashboard.
Is WooCommerce required?
Yes. WooCommerce is used for payments, checkout, and booking workflows.
Can I build a website similar to GetYourGuide using Togo?
Yes. Togo includes the core features required to create a modern travel booking marketplace website.