
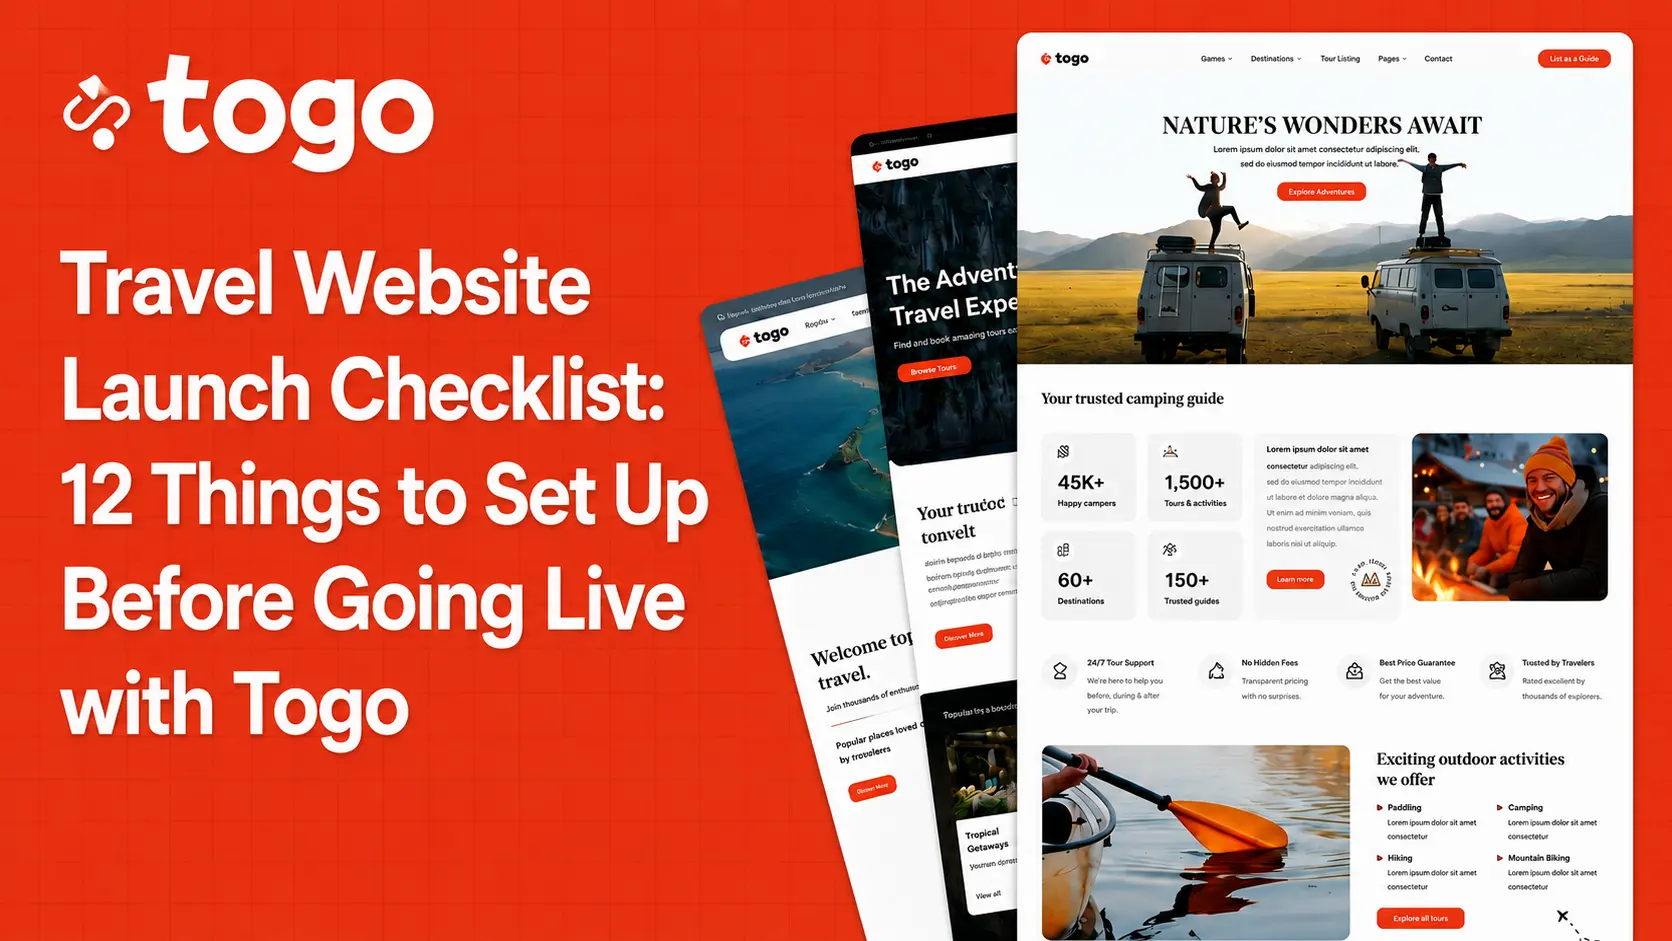
There’s a moment every travel website owner knows: you’ve spent days importing the demo, customizing the homepage, uploading your tour photos — and suddenly it feels ready. It looks good. You want to hit publish.
Don’t. Not yet.
A travel booking website isn’t a blog. It’s a transaction platform. Customers are entering payment details, making reservations, and trusting you with their vacation plans. If something breaks after launch — a misconfigured payment gateway, a broken confirmation email, a booking form that doesn’t actually save reservations — you don’t just lose a sale. You lose trust, and you might lose the customer permanently.
This checklist covers the 12 things every Togo-powered travel website needs before it goes live. Work through it once. Launch with confidence.
Travel Website Launch Checklist for Togo
| Checklist Item | Purpose |
|---|---|
| 1. Import Your Demo and Remove All Placeholder Content | This sounds obvious, but placeholder content causes real problems — and it’s easy to miss. |
| 2. Configure Your Google Maps API Key | Togo’s tour detail pages, destination maps, and radius search all depend on the Google Maps JavaScript API. Without a properly configured API key, maps will either not load or display with a prominent error banner — one of the most obvious signs of an unfinished site. |
| 3. Set Up and Test WooCommerce Payments End-to-End | This is the most critical item on the list. Your payment system needs to work — not just look like it works. |
| 4. Configure Booking Confirmation and Notification Emails | Every booking triggers emails — to the customer confirming their reservation, and to you (or your team) notifying you of a new booking. These emails need to be set up, customized, and tested before launch. |
| 5. Set Up Tour Availability and Pricing Rules Correctly | Togo’s booking system supports real-time availability, seasonal pricing, group pricing, and departure schedules. These need to be configured properly — not left at default settings. |
| 6. Install and Configure an SEO Plugin | Togo includes SEO schema markup for tours out of the box — structured data that tells Google exactly what your pages are about and can earn you rich results in search. But you still need an SEO plugin to handle meta titles, meta descriptions, XML sitemaps, and canonical URLs. |
| 7. Optimize Images for Web Performance | Travel websites are image-heavy by nature. Unoptimized images are the single most common reason travel sites are slow — and slow sites lose bookings. Google’s research consistently shows that conversion rate drops sharply as page load time increases. |
| 8. Test the Full Booking Flow on Mobile | More than 60% of travel research and a growing percentage of bookings happen on mobile devices. Your site needs to work perfectly on a phone — not just look acceptable. |
| 9. Set Up Google Analytics and Search Console | You can’t improve what you don’t measure. Before your first visitor arrives, connect: |
| 10. Set Up SSL and Verify HTTPS Across the Entire Site | If your site is taking payments, SSL is non-negotiable. Most hosting providers include free SSL certificates via Let’s Encrypt — but you need to verify it’s actually active and that your entire site is served over HTTPS, not just the checkout page. |
| 11. Configure Your User Dashboard Pages | Togo includes a full user dashboard where logged-in customers can view their booking history, manage upcoming trips, access booking details, and — if you’ve added the Visa plugin — track visa applications. |
| 12. Do a Full Pre-Launch Review with Fresh Eyes | The last step before going live: stop being the builder and become the customer. |
12 Things to Set Up Before Going Live with Togo
1. Import Your Demo and Remove All Placeholder Content
This sounds obvious, but placeholder content causes real problems — and it’s easy to miss.
After importing your Togo demo, go through every page systematically: homepage, tour archive, tour detail pages, about page, contact page, and any custom pages you’ve created. Replace every instance of Lorem Ipsum text, placeholder images, sample tour names, and dummy pricing.
Pay special attention to:
- Tour detail pages — check itinerary, included/excluded items, pricing tiers, and meeting point details
- Footer — business name, contact email, phone number, address
- About page — your actual team, story, and credentials
- Legal pages — Terms & Conditions, Privacy Policy, Refund Policy (Togo includes templates; customize them for your business)
Search your site for the word “Lorem” before launch. If it appears anywhere, you’re not done.
2. Configure Your Google Maps API Key
Togo’s tour detail pages, destination maps, and radius search all depend on the Google Maps JavaScript API. Without a properly configured API key, maps will either not load or display with a prominent error banner — one of the most obvious signs of an unfinished site.
Setting this up takes about 15 minutes:
- Create a project in Google Cloud Console
- Enable the Maps JavaScript API and Places API
- Generate an API key and restrict it to your domain
- Paste the key into Togo’s theme settings
Togo has a dedicated guide covering this step-by-step: How to Get a Google Maps JavaScript API Key for Togo WordPress Theme. Follow it exactly — the domain restriction step is important for security and to prevent unauthorized usage of your key.
3. Set Up and Test WooCommerce Payments End-to-End
This is the most critical item on the list. Your payment system needs to work — not just look like it works.
Before launch:
- Connect your payment gateway (Stripe or PayPal are the most reliable starting points)
- Enable test mode and complete a full test transaction: select a tour, choose a date, fill in guest details, enter test card details, confirm the booking
- Verify the booking appears correctly in your WooCommerce orders dashboard
- Verify the confirmation email was sent (check spam too)
- Switch off test mode before you go live
Also check your currency settings in WooCommerce — make sure the currency matches your market and that your payment gateway supports it. A mismatch here causes silent failures at checkout that are infuriating to debug after launch.
If you’ve run into WooCommerce checkout or cart issues during setup, Togo’s troubleshooting guide covers the most common fixes: How to Fix WooCommerce Checkout and Cart Page Errors in Togo Theme.
4. Configure Booking Confirmation and Notification Emails
Every booking triggers emails — to the customer confirming their reservation, and to you (or your team) notifying you of a new booking. These emails need to be set up, customized, and tested before launch.
In WooCommerce → Settings → Emails, configure:
- Customer order confirmation — include tour name, date, number of guests, total paid, and next steps
- Admin new order notification — sent to your business email with full booking details
- Customer booking reminder (if applicable) — a follow-up email closer to the tour date
Customize the email template to match your brand — add your logo, brand colors, and a friendly sign-off. A generic WooCommerce email to a customer who just booked a $500 tour is a missed opportunity to reinforce trust and excitement.
Test every email type by completing test transactions before launch.
5. Set Up Tour Availability and Pricing Rules Correctly
Togo’s booking system supports real-time availability, seasonal pricing, group pricing, and departure schedules. These need to be configured properly — not left at default settings.
For each tour, verify:
- Available dates and departure times are set correctly
- Minimum and maximum group size is specified
- Pricing tiers are configured (adult, child, group rates if applicable)
- Cutoff time is set — how many hours before departure can someone book?
- Booking buffer — do you need a day between bookings to prepare?
One commonly missed setting: the tour archive slug. By default, Togo uses a generic slug for tour listing pages. Changing it to something like /tours/ or /experiences/ before launch is important — changing it after launch breaks URLs that may already be indexed or shared. Set it correctly from the start: How to Change the Default Trip Archive Slug in Togo WordPress Theme.
6. Install and Configure an SEO Plugin
Togo includes SEO schema markup for tours out of the box — structured data that tells Google exactly what your pages are about and can earn you rich results in search. But you still need an SEO plugin to handle meta titles, meta descriptions, XML sitemaps, and canonical URLs.
Install either Yoast SEO or Rank Math (both free tiers are sufficient to start).
Before launch, configure:
- Site title and tagline (Settings → General)
- Homepage meta title and description
- Meta titles for your tour archive and individual tour pages
- XML sitemap — submit it to Google Search Console after launch
- Open Graph settings for social sharing previews
Write unique meta descriptions for your top 5–10 tour pages before launch. Generic or missing meta descriptions don’t disqualify you from ranking, but they hurt your click-through rate from search results.
7. Optimize Images for Web Performance
Travel websites are image-heavy by nature. Unoptimized images are the single most common reason travel sites are slow — and slow sites lose bookings. Google’s research consistently shows that conversion rate drops sharply as page load time increases.
Before launch:
- Compress all tour photos using a tool like Squoosh, ShortPixel, or EWWW Image Optimizer
- Use WebP format where possible (Togo supports it)
- Set explicit width and height attributes on images to prevent layout shift
- Install a caching plugin (WP Rocket or W3 Total Cache) and a CDN if your audience is international
Target a Google PageSpeed Insights score above 80 on mobile. Run your homepage and your most important tour page through the tool before launch, and address any critical issues flagged.
8. Test the Full Booking Flow on Mobile
More than 60% of travel research and a growing percentage of bookings happen on mobile devices. Your site needs to work perfectly on a phone — not just look acceptable.
Test the complete booking journey on an actual mobile device (not just browser developer tools):
- Homepage load and navigation
- Tour search with filters
- Tour detail page — photos, itinerary, pricing, reviews
- Date selection on the availability calendar
- Guest details form
- Payment checkout
- Confirmation page
Pay attention to tap target sizes, form field usability on a small keyboard, and whether the booking button is visible without excessive scrolling. Togo is built mobile-first, but your customizations and added content can introduce mobile issues that only show up on a real device.
9. Set Up Google Analytics and Search Console
You can’t improve what you don’t measure. Before your first visitor arrives, connect:
Google Analytics 4 — tracks who visits your site, where they come from, which tours they view, and crucially, where they drop off in the booking funnel. Set up a conversion event for completed bookings so you can measure your actual conversion rate from day one.
Google Search Console — shows which search queries bring visitors to your site, how your pages rank, and flags any crawling or indexing errors. Submit your XML sitemap here immediately after launch.
Both tools are free. Setting them up after launch means you lose data from your earliest visitors — data that’s often the most interesting.
10. Set Up SSL and Verify HTTPS Across the Entire Site
If your site is taking payments, SSL is non-negotiable. Most hosting providers include free SSL certificates via Let’s Encrypt — but you need to verify it’s actually active and that your entire site is served over HTTPS, not just the checkout page.
Check for:
- HTTPS in your browser address bar on every page
- No mixed content warnings (HTTP resources loading on an HTTPS page) — use the free Why No Padlock tool to check
- WordPress address and Site address both set to HTTPS in Settings → General
- 301 redirects from HTTP to HTTPS configured at the server or plugin level
A broken padlock icon on your checkout page will cost you bookings. Travelers notice.
11. Configure Your User Dashboard Pages
Togo includes a full user dashboard where logged-in customers can view their booking history, manage upcoming trips, access booking details, and — if you’ve added the Visa plugin — track visa applications.
These dashboard pages need to be created and assigned before launch:
- My Account page
- Booking history page
- Wishlist page (if using)
- Visa bookings page (if using the Visa plugin)
If you’ve added visa services to your offering, Togo has specific guides for setting up each dashboard component: How to Create a Visa Booking Page and How to Create a Visa Wishlist Page in the User Dashboard.
A customer who can’t find their booking after paying is a support ticket waiting to happen. Get the dashboard right before anyone books.
12. Do a Full Pre-Launch Review with Fresh Eyes
The last step before going live: stop being the builder and become the customer.
Clear your browser cache. Open your site in an incognito window. Pretend you’ve never seen it before. Navigate as a traveler would — find a tour, read the details, check the pricing, try to book.
Ask yourself:
- Is it immediately clear what this site offers and who it’s for?
- Can I find and book a tour in under 3 minutes?
- Does every page I visit look intentional and complete?
- Are there any broken links, missing images, or error messages?
- Does the site feel trustworthy enough for me to enter my credit card?
Better yet — ask someone else to do this. Fresh eyes catch things you’ve become blind to after weeks of building.
Fix what you find. Then launch.
You’re Ready to Go Live
A travel booking website done right is a 24/7 sales engine — taking bookings while you sleep, scaling without adding headcount, and building an audience that compounds over time.
Togo gives you the platform. This checklist helps you launch it properly.
Get Togo WordPress Theme for $59 →
Need help during setup? The Togo documentation and support team are there for exactly this.